In this guide, we walk you through the process of creating and preparing a spot UV layer file for the DuSense DDC-8000, DDC-810 Pro, and DDC-810 Raised Spot UV Coater. While this focuses on using Adobe Illustrator, you can adapt the process for other design software.
Design Your Spot UV Layer
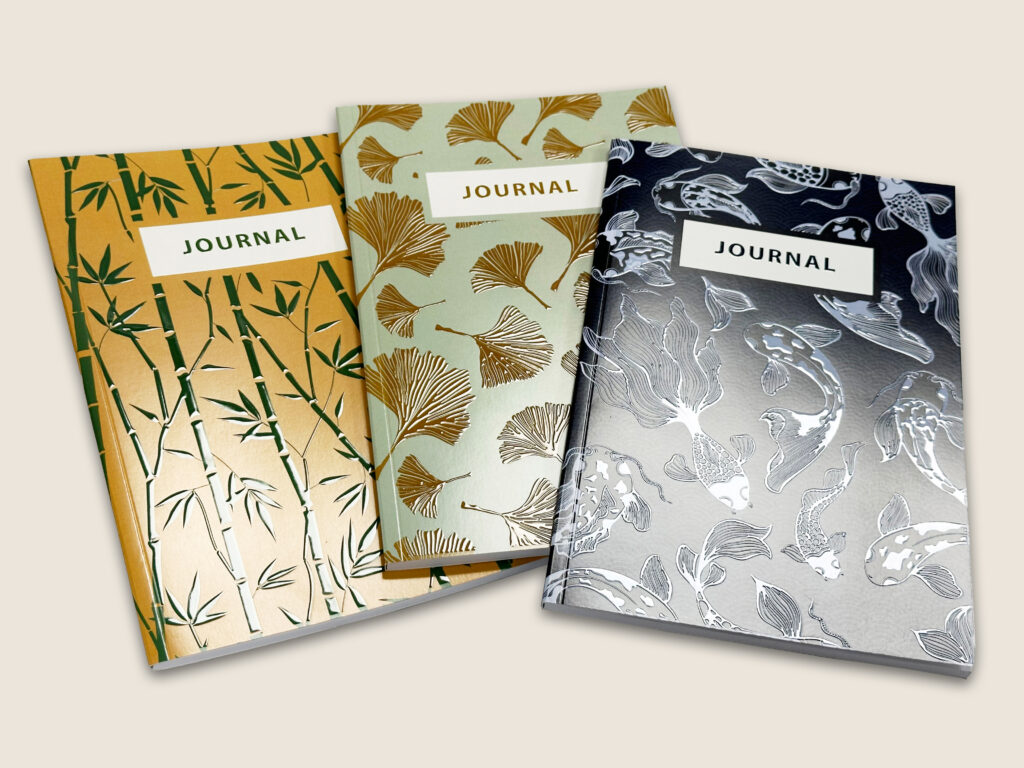
Firstly, create your 1-up CMYK artwork in Illustrator then duplicate the layer to create the spot UV file. Now that you have a layer to work with, convert the duplicate design to “black and white”. Use black to define the areas where you want to apply the spot UV and leave the non-spot UV areas blank or use white.
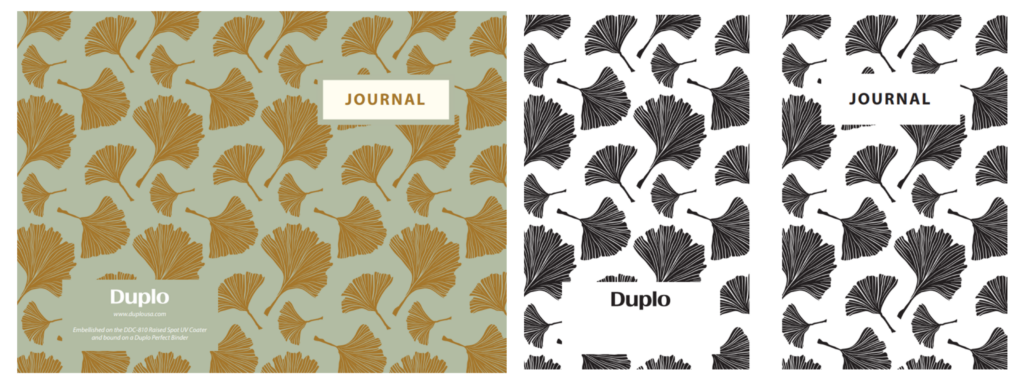
For this book cover sample, the spine area is left blank (or white) to indicate where spot UV is not desired. For the best results, avoid applying spot coating directly on cut and fold lines.
Define the Thickness of Your Spot UV Layer Using the Grayscale
To control the thickness of the polymer, switch the color mode of the spot layer to Grayscale under the Swatch Options. Then, adjust the grayscale values accordingly for every swatch: the darker the shade of black, the thicker the polymer layer will be. This process allows you to customize the depth of the spot UV effect across different areas of your design.
Add Imposition & Registration Marks
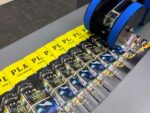
Apply imposition, if any, and the DuSense registration marks to both the CMYK and spot layer files. This ensures proper alignment during the print and spot UV process. Additionally, you can automate this step using workflow software, like Fiery JobFlow, to streamline production. Finally, save the files as PDFs – your print file is ready for printing.

Make Adjustments on the DuSense PC Controller
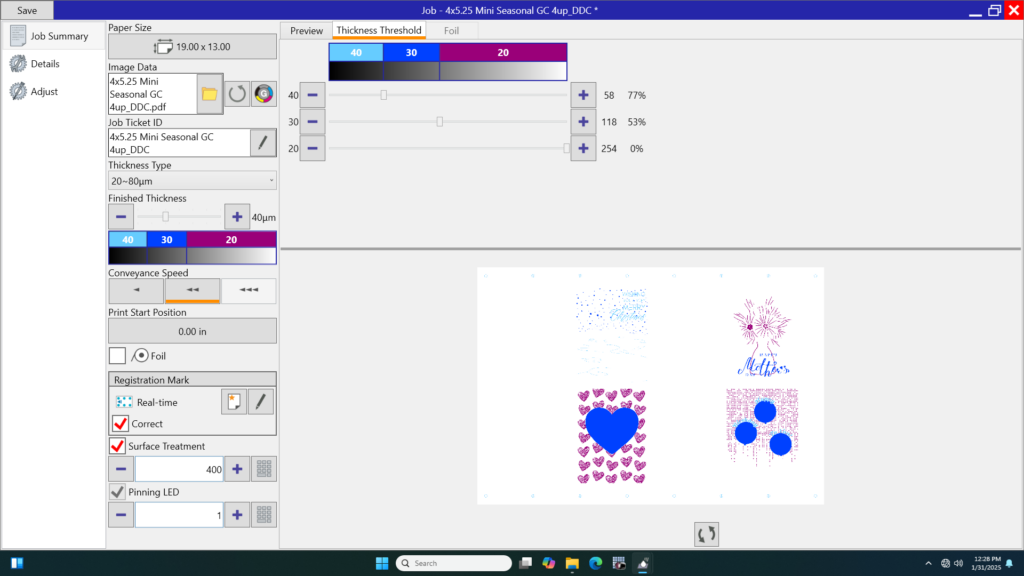
Once printing is complete, load the sheets on the DuSense and then upload the spot file onto the PC Controller software. Here, the operator can fine-tune the polymer thickness threshold, adjusting between 10-80 microns on the DDC-8000 and 15-80 microns on the DDC-810 Pro, and produce some test sheets before going to production.
Print Embellishment Made Easy
Finally, creating a spot UV layer is complete. As the printed sheets pass through, the DuSense applies the varnish to the selected areas. The sheets are cured and dried instantly – making them ready for finishing like cutting and folding.
Note: To apply a thin coat (10 and 15 microns on the DDC-8000, and 15 microns on the DDC-810 Pro), the DUV-410 varnish is required. On the DDC-8000, the range of 10-80 microns applies to spot UV jobs only, not for cold foil jobs.
Check out our Embellishment Hub for more helpful tips and professional tricks to optimize your spot UV jobs.