In the world of print production, the finishing process is just as important as the design and printing itself. It’s the final touch that adds professional quality, durability, and visual appeal to your printed materials. Whether it’s a sleek brochure, a set of business cards, or an elegant piece of packaging, the right print finishing techniques can make all the difference.
Let’s take a quick look at some of these techniques, how they work, and what type of equipment completes the process. By no means is this a complete list but a brief overview of the most common processes in finishing.
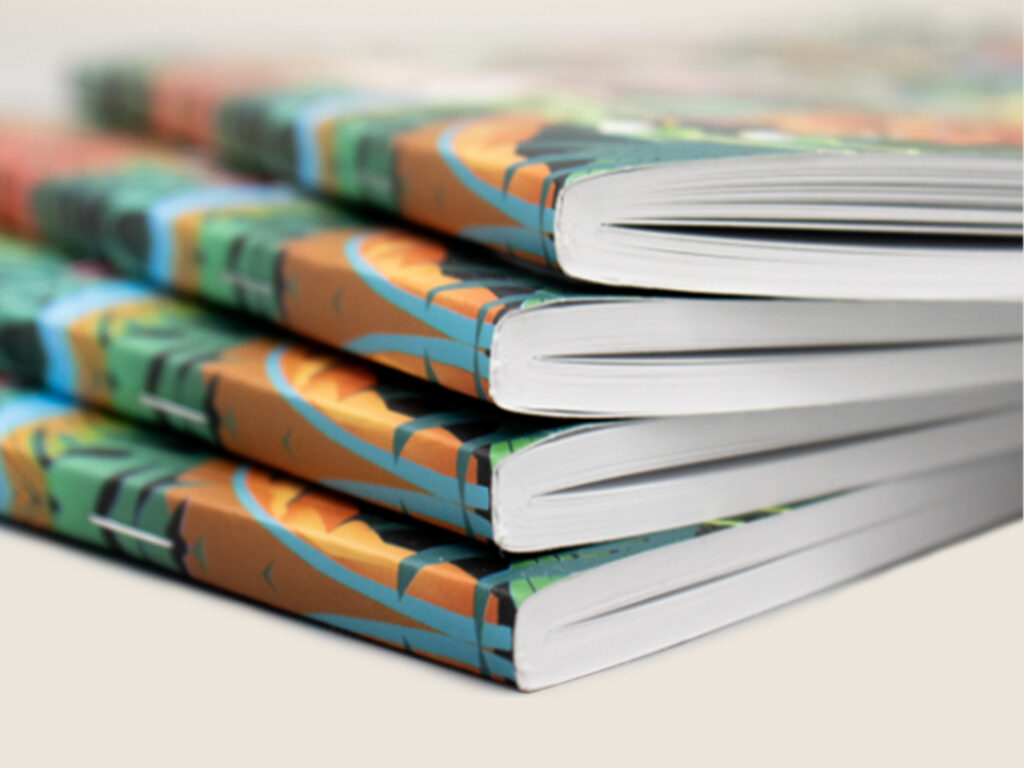
Book Binding
Book binding refers to the process of securing printed pages together to create a finished book. Various techniques are available, each suited for different types of documents and intended uses. Common binding methods include:
- Saddle Stitching: Saddle stitching is the most economical option when it comes to book binding. The system folds and staples the sheets along the spine with wire staples. Applications include programs, newsletters, and calendars with a limited number of pages. A saddle stitcher or bookletmaking system gets the job done.
- Perfect Binding: Perfect binders glue the pages together at the spine to create a book block, then glue it to a soft cover. This technique uses PUR or EVA glue. Applications include paperback books, catalogs, and thicker book applications.
- Spiral Binding: In spiral binding, pages are punched with holes along the edge, and a plastic or metal coil is inserted through the holes to bind them together. It allows for the book to lay flat with a full 360-degree rotation of pages. It’s not as formal as a saddle-stitched or perfect bound book but works best for educational materials such as workbooks and reference books.
- Lay-Flat Binding: One of the priciest options, lay-flat binding allows a book to lay completely flat when opened. Ideal for children’s and photography books, casing-in machines attach the book’s cover to the spine and pages.
Read: The Difference Between Saddle-Stitched and Perfect Bound Books
These methods, and they are more where they came from, make book production possible.
Cutting/Creasing/Folding
In print finishing, cutting, creasing, and folding are essential processes that help transform sheets off the press into their final form. Each process serves a specific purpose to ensure the document is functional and properly structured.
- Cutting: Cutting involves trimming the printed sheet to the desired size. A guillotine cutter cuts through stacks of paper at a time. With a multi-finisher – like the Duplo Slitter/Cutter/Creaser – the device cuts and trims one sheet a time. Cutting ensures that the print job meets specific size requirements and eliminates white borders around the printed content.
- Creasing: Creasing prepares the printed sheet for folding, especially when working with thick or coated stock. Scoring is more of a traditional technique that has long been used with offset printing. Creasing is more common now thanks to the rise in toner-based digital presses, and the need to prevent the toner from cracking when folded. The creaser utilizes male and female matrix channels to create the hinge along the sheet, so it folds with ease. It’s particularly important when producing high-quality brochures, greeting cards, book covers, and packaging. This technique is achieved with creasing equipment or a multi-finisher.
- Folding: Folding is the process of bending a sheet of paper to create a specific format. Folded applications include brochures, greeting cards, and book covers. Various types of folds, such as single, accordion, gate, and cross can be performed. The process is done manually or automatically with a tabletop folder for faster productivity. Some multi-finishing equipment, like the Slitter/Cutter/Creaser, can expand with an in-line folder for increased versatility.
Together, these processes play a crucial role in the finishing of printed products. They ensure they are the right size, have professional folds, and maintain durability in handling.
Read: 6 Things You Didn’t Know About Duplo’s Slitter/Cutter/Creasers
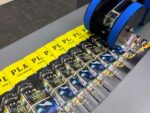
Perforating
Perforating creates a line of small, closely spaced holes to make it easy to tear the sheet. This technique creates tear-off sections, such as coupons, tickets, forms, and subscription cards.
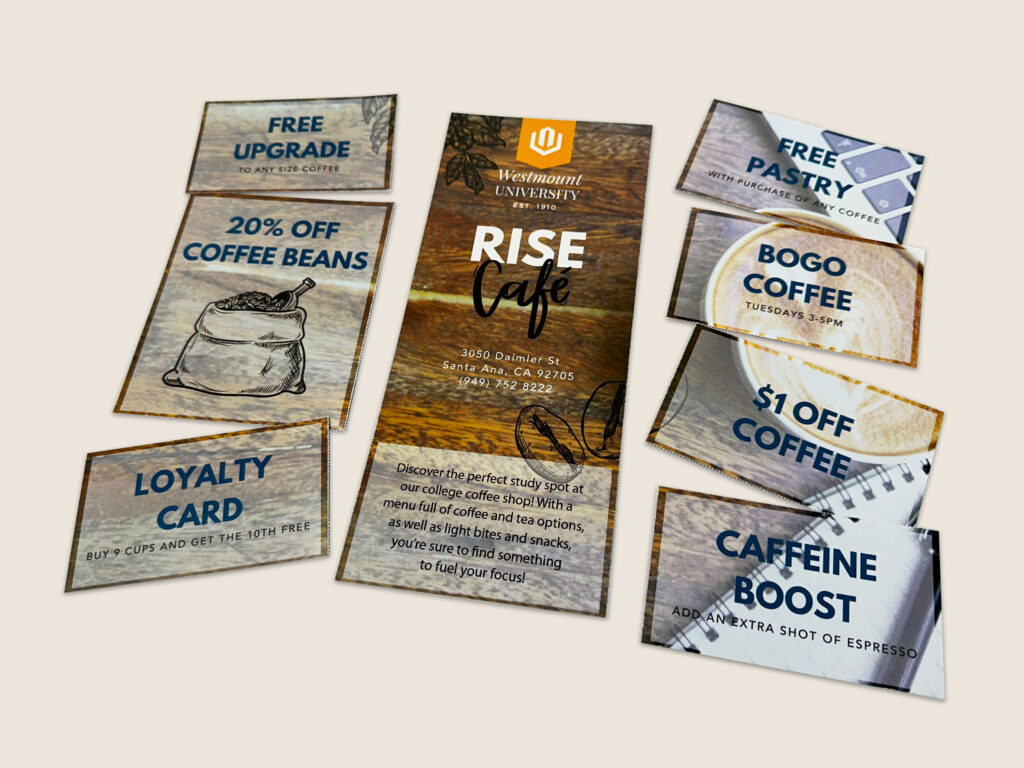
Perforations are applied with a perforating machine, or with a rotary tool inside a multi-finisher. Either creates a series of perforations in the sheet while leaving material intact to hold the sections together until torn.
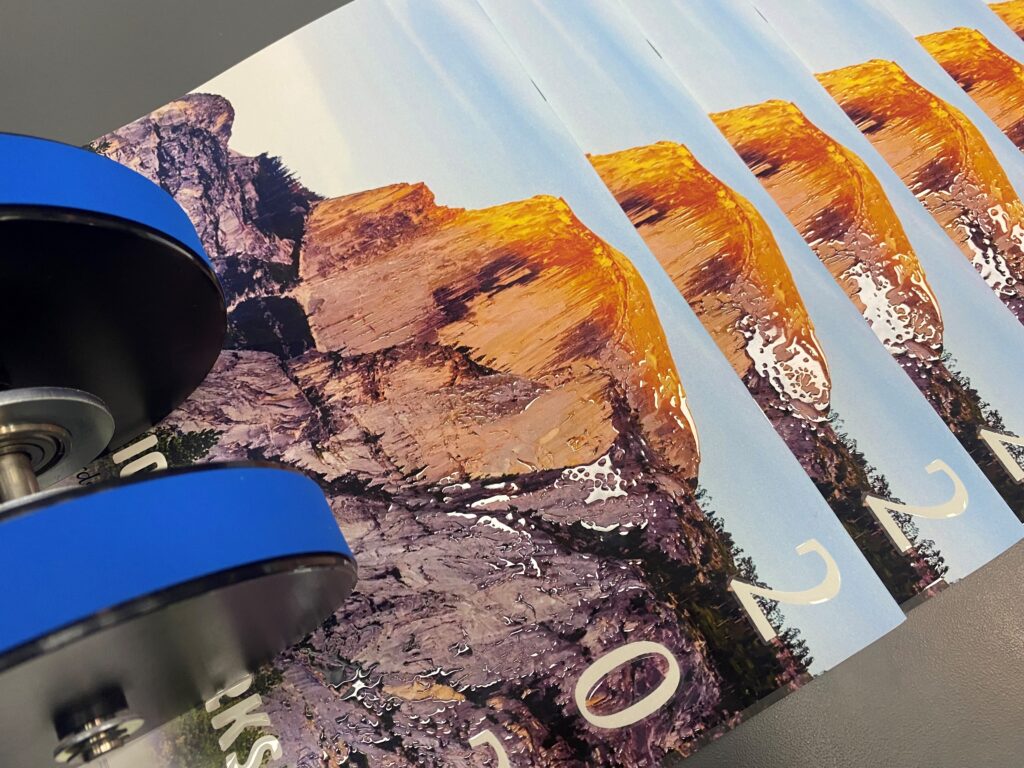
Laminating
Laminating is the process of applying a heat-activated film over the printed sheet. It provides an attractive finish that helps protect pieces from frequent handling. It makes it resistant to fading and tearing. Additionally, it provides a dull contrast for spot UV embellishments. The film can be applied to a single side or both.
There are three primary types of lamination:
- Soft Touch Lamination – Gives a velvety, smooth, and more luxurious texture to the printed material. Compared to matte and gloss lamination, soft touch feels more delicate and plush to the touch.
- Matte Lamination – Creates a non-glossy, smooth finish for a more subdued look. It reduces glare and it’s popular with high-end business cards, menus, and brochures.
- Gloss Lamination – Gives a shiny, reflective finish – similar to flood coating. It makes colors appear more vibrant and enhances the overall appeal.
There are a variety of hot laminators on the market and some perform multiple functions, like the DFL-700 Foil/Laminator.
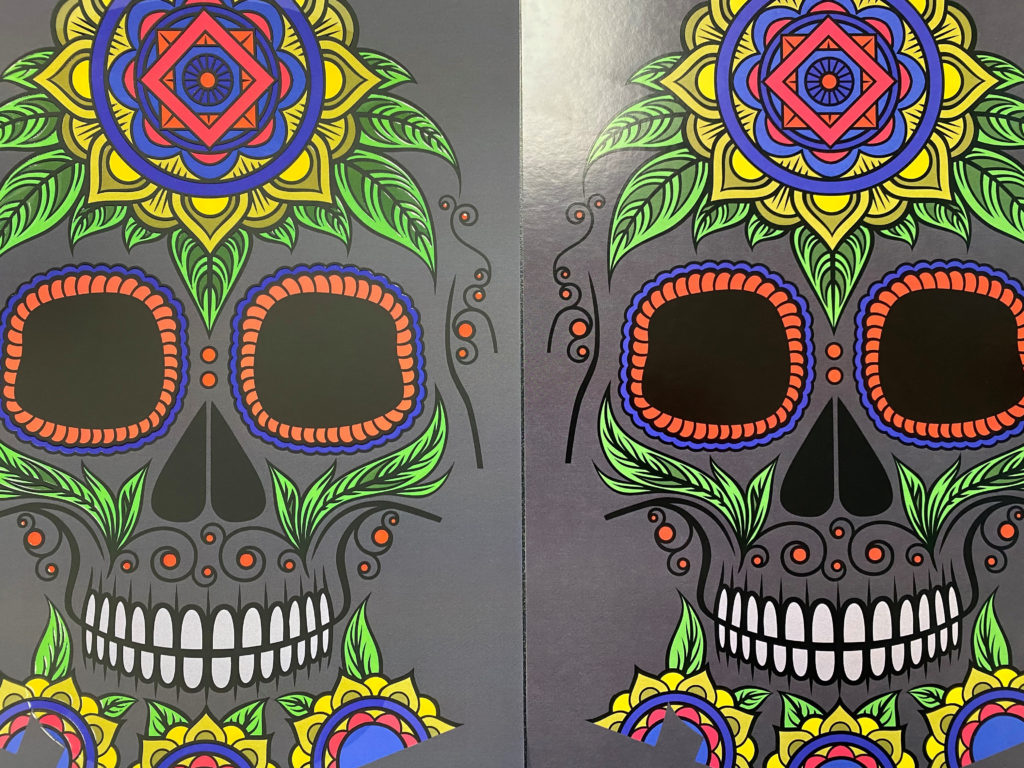
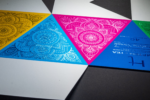
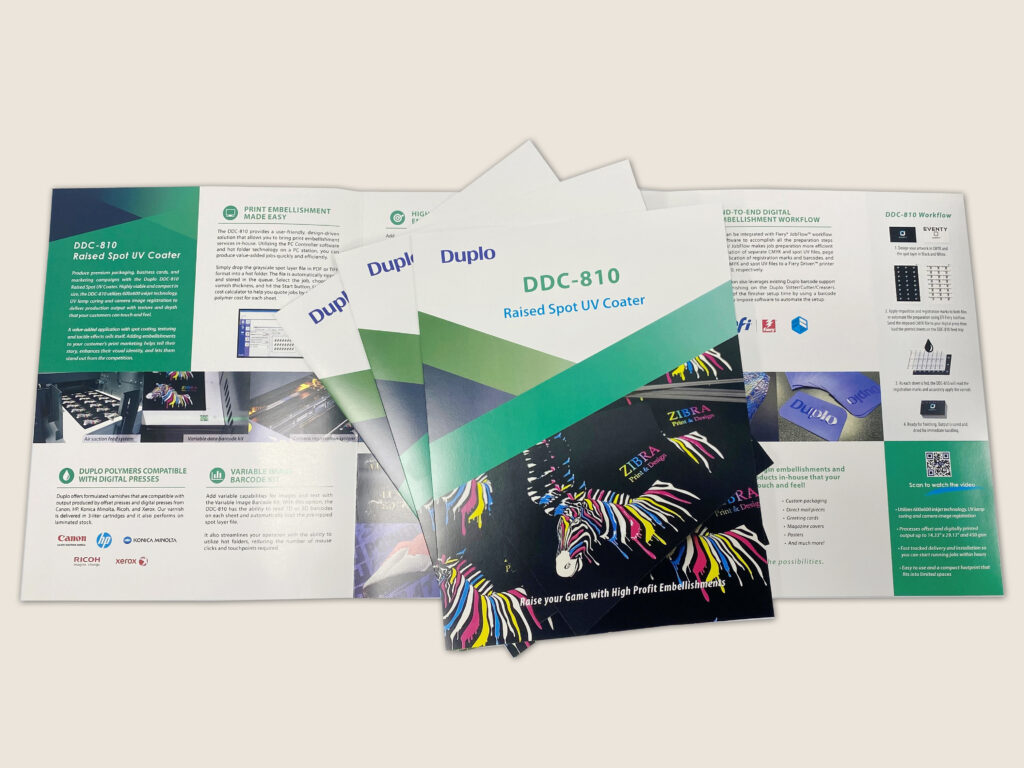
UV Coatings
UV Coating is a type of liquid coating applied to printed materials with a flood UV coater. The liquid cures quickly under a UV light, resulting in a glossy finish. The finish can also be satin or matte. This technique provides durability as well as scratch and scuff resistance for certain applications, like direct mail and brochures.
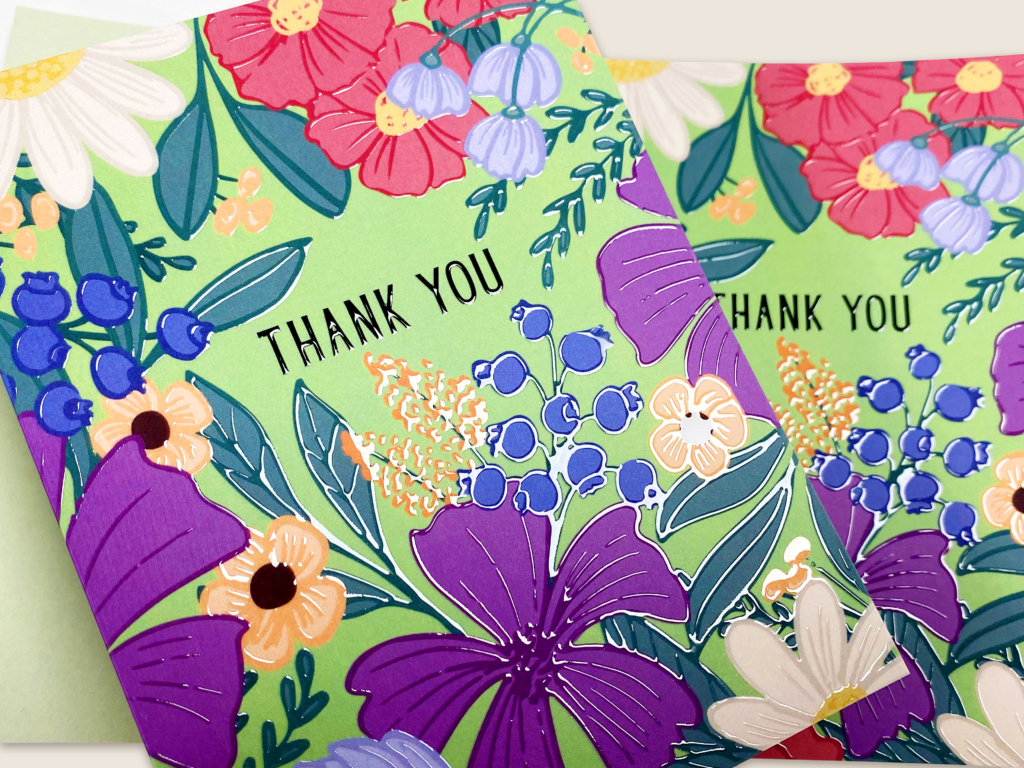
Then, there is Spot UV Coating, which applies the glossy finish to selected areas of the sheet. Unlike flood coaters, today’s digital inkjet technologies allow for a precise application to make design elements stand out. It draws attention to logos, images, or text on business cards, packaging, and other marketing materials.
Read: What is Spot UV?
Die Cutting
Die Cutting is a process that cuts paper and other materials into specific shapes and sizes. It’s a versatile technique that creates intricate designs, custom shapes, and packaging that standard cutting methods can’t achieve.
There are three primary types of die cutters:
- Platen: These die cutters – like the DSM-1000 B2 Platen Die Cutter – use steel rule dies that are mounted on a flat surface. The sheets press onto the die for through cuts, creases, kiss cuts, and perforations. Ideal for packaging, pocket folders, and more.
- Rotary: Rotary die cutters use flexible dies that mount over a magnetic cylinder to cut the sheets. It’s faster and more suitable for high-volume production, such as business cards and door hangers.
- Digital: Digital die cutters use a tooling head to cut intricate designs without the need for a physical die, often used for shorter runs or custom designs. This type of die cutter performs on a variety of substrates including corrugated and PVC boards.
Read: Factors to Consider When Choosing a Die Cutter
Die cutting adds a touch of creativity and sophistication to print projects, allowing designers to push the boundaries beyond traditional rectangular or square shapes, offering unique and memorable results.
These are just a few of the print finishing techniques commonly used by print providers to complete their products. Briefly covered, embellishments are an entire topic of their own. See Finishes for Labels and Packaging for more on this.
As we say in print – the job is not finished, until it’s finished!